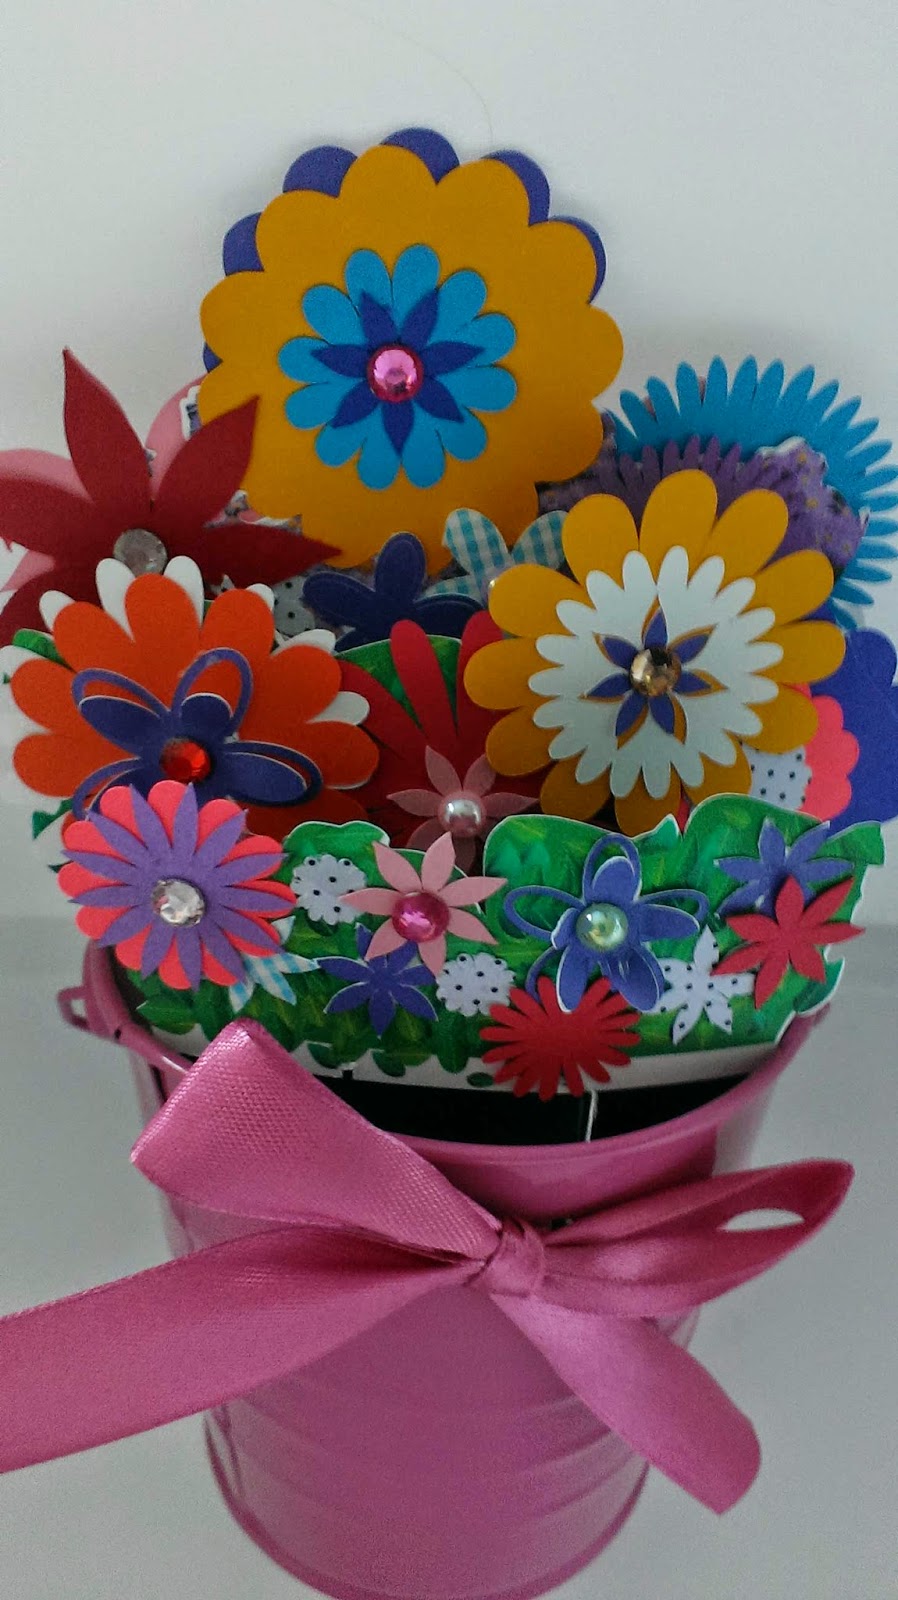
Whoops sort of lost track of my thoughts. Well we make them a package and this year I added a craft to each package. I made verse boxes. Here is one of them:
So each of the boxes holds about 30 cards. On the front of each card is a saying that I found from an AA inspiration page. Here are some of these quotes:
And then I picked bible quotes that echoed these thoughts, like this:
The little folders have an accordion side that allows you to put your favorite verses up front:
And they have the cutest little snaps to close them. They are snaps for baby clothes and when you add them to paper that has been laminated they provide a nice strong closure. You can see a packet of snaps in the bucket behind the verses.
Here is the tutorial for making the folders.
- Download the MTC file (verse_box_share.mtc). And cut out one of each of the three shapes. In the file they are on different pages (box, trim, trim3) and they look like the shapes on the left. I wanted colours that looked nice together so I invited over my colour consultants (who are the most wonderful people and good friends to boot) to pic the colours out. I think they chose about 20 different combinations. The main part of the folder was usually cut out of 12x12 patterned cardstock and then the trim was a complementary colour.

- Fold all the perforated sections before you laminate in order to make the folding after laminating easier.
- Then the next step was to laminate the folder with the trim in place. I did this by cutting a laminate folder to the width of the main part of the folder. With a tiny bit of glue to hold the trim in the right place. The pieces look like this going into the laminator. The laminating sheet only covers the patterned area of the folder.

- Once it is laminated, refold the perforated lines on the folder. I used my Martha Stewart scoring board but any method will work.
- Then you are going to add the snaps to the top and bottom of the folder. The snaps I borrowed from a friend and they are the KAM snaps. There are 3 different pieces and they look like this the below picture. A and B are different sides of the same piece. So at the rounded end of the folder you will attach the A/B piece to the Pin piece with the A side showing against the patterned paper. And at the square end of the folder you would attach the A/B piece to the Box piece. IMPORTANT: the square end of the folder has the box piece showing against the patterned paper
- Now comes the fun part. I know it all seems so much fun so far!! I think I put together 120 of these babies and it gets easier as you go. So you are going to fold the tabs up. The tabs that are rounded (kind of looks like a bracket ) you will fold back and forth inward on the folder until it looks like this:

- The last step is to attach the tabs together with glue and tabs. Here is a poor video to show you how. https://youtu.be/4JZKairJYo4
- And le voile. Et fini.


